Hyper Light Breaker's Game-Changing Lock-On Target Feature Revealed
This guide explains Hyper Light Breaker's targeting mechanic, the lock-on system, and when to use it effectively. The game's lock-on system is crucial but shouldn't be used by default. It's most beneficial in specific scenarios.
How to Target Enemies
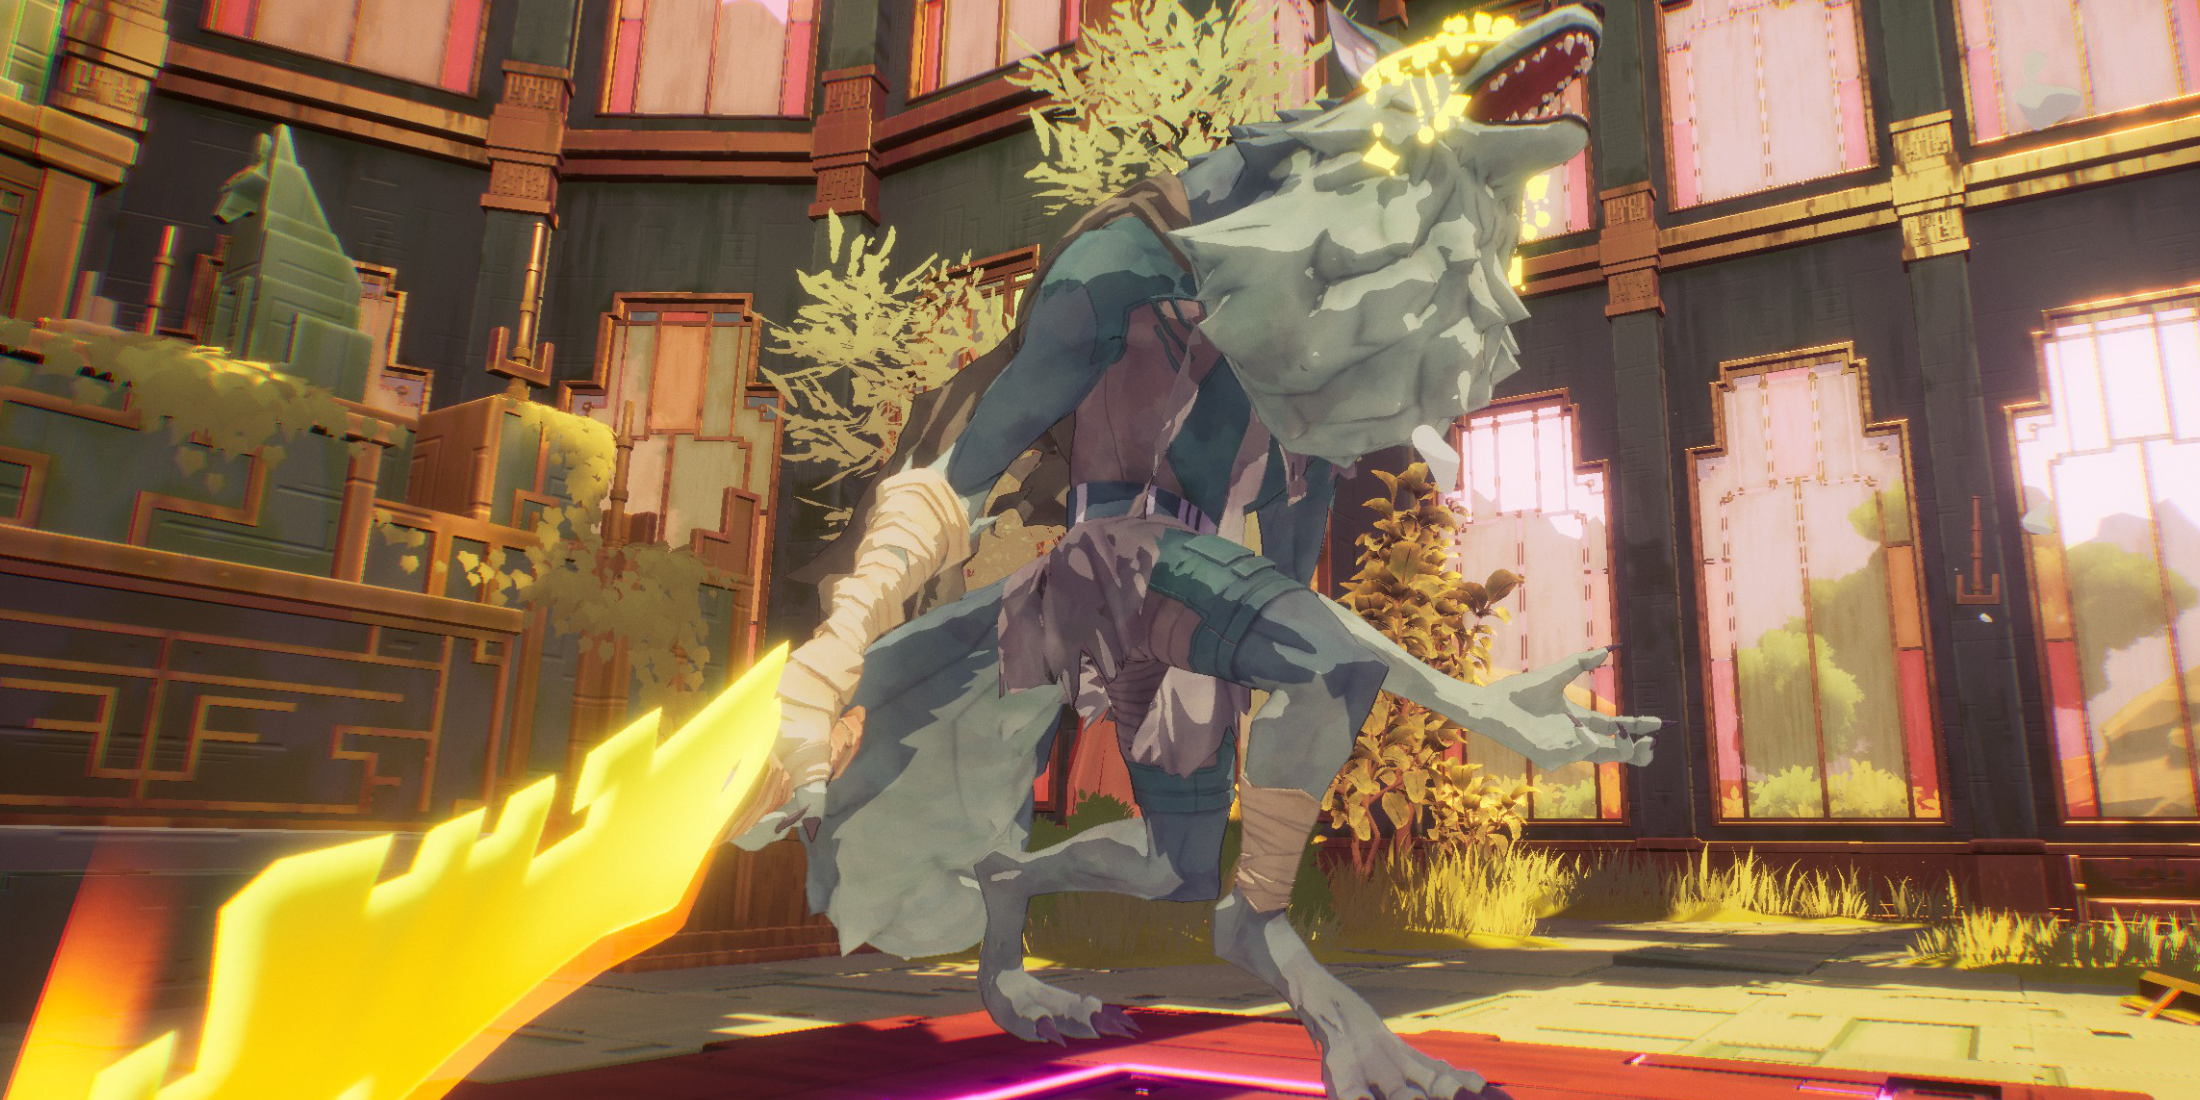
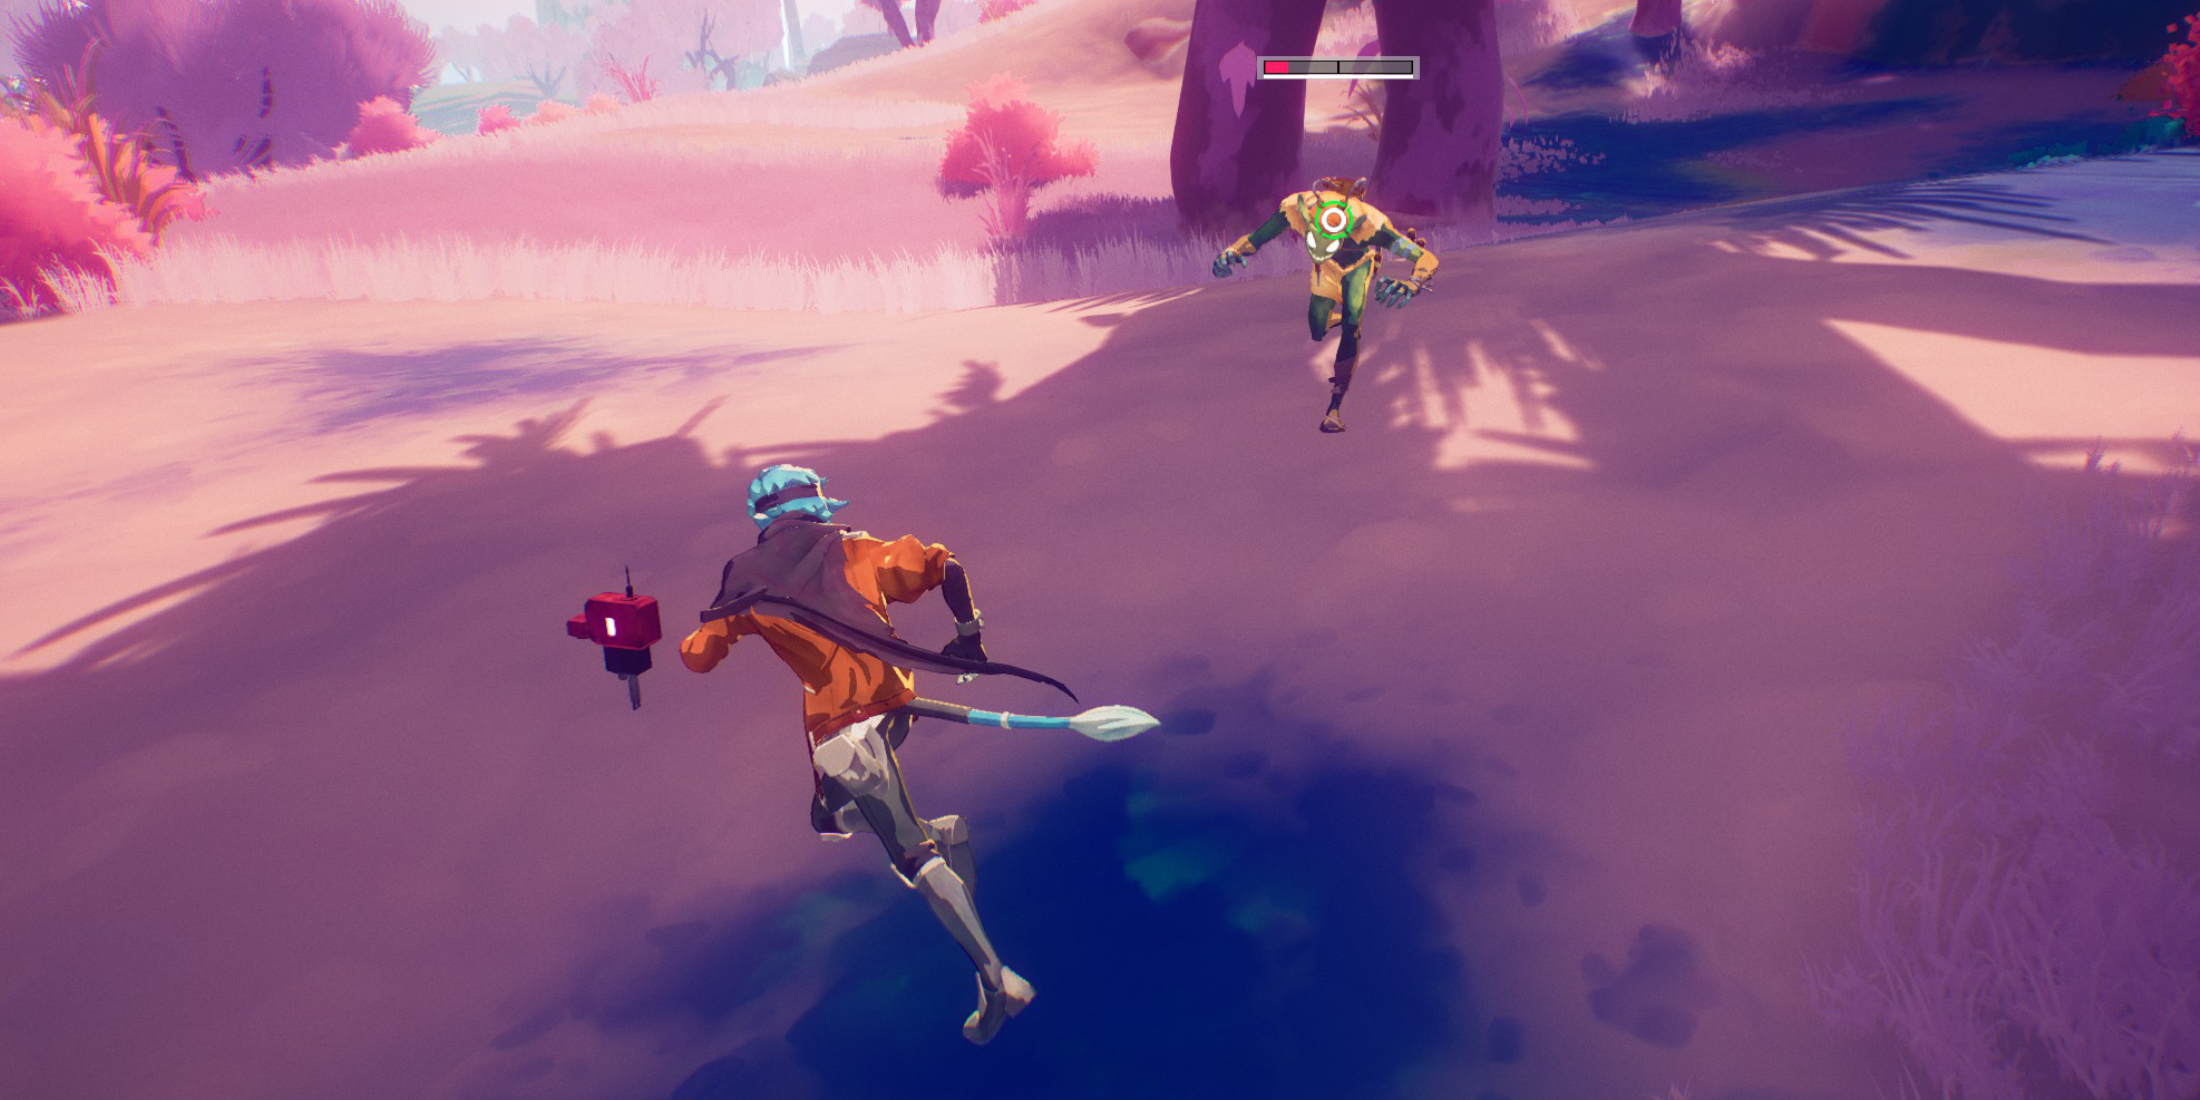 To lock onto an enemy, center your view on them and press the right analog stick (R3). The game automatically selects the target unless it's surrounded by others. A reticle appears around the target, and the camera zooms slightly. Line of sight isn't required; the enemy just needs to be visible and within range.
While locked on, your movement will tend to circle the target, and fast-moving enemies can make the camera perspective shift dramatically, potentially altering your input direction.
To switch targets, move the right analog stick left or right. The reticle jumps to the nearest enemy within range. To cancel the lock-on and return to the free camera, press the right analog stick again (or use the alternative binding in the settings menu). The lock-on also automatically cancels if you move too far from the target.
When to Lock On vs. Free Cam
 Lock-on is ideal for one-on-one fights, especially bosses or strong enemies (yellow health bars), but only after eliminating other nearby enemies. The focused camera leaves you vulnerable to attacks from enemies outside your immediate view.
For multiple enemies or weaker foes, free cam is generally better. Lock-on can hinder your ability to react to surrounding threats.
Against mini-bosses or bosses, clear all minor enemies first, then lock on to keep the boss centered. Cancel the lock-on if other enemies appear, and re-engage the lock-on once they're dealt with. During Extraction, for instance, prioritize clearing regular enemies before focusing on the mini-boss using the free camera, then switching to lock-on for the final phase.


![Zenless Zone Zero [ZZZ] Codes (December 2024) – 1.4 Livestream Codes](https://imgs.96xs.com/uploads/54/1735628542677396feeb34f.jpg)
- 1 WWE 2K24 Update 1.11 Released Nov 10,2024
- 2 Capcom Spotlight February 2025 and Monster Hunter Wilds Showcase: Everything Announced Mar 05,2025
- 3 New LEGO Sets for March 2025: Bluey, Harry Potter, and More Mar 06,2025
- 4 Gothic 1 Remake Demo: Frame-by-Frame Comparison with Original May 01,2025
- 5 PUBG Mobile Redeem Codes for January 2025 Live Now Feb 13,2025
- 6 "Assassin's Creed Shadows Unveils Canon Mode" Apr 26,2025
- 7 Pokémon TCG Pocket Unveils Premium Pass and Trade Tokens Apr 21,2025
- 8 Roblox's RNG War TD Codes Unleashed (2025 Update) Feb 12,2025


![Business of Loving [v0.12.5i] [Dead End Draws]](https://imgs.96xs.com/uploads/18/1719555107667e5423ef803.jpg)
-
Top Business Management Apps for Android
A total of 10
-
Best Racing Games to Play Now
A total of 10
-
Best Competitive Multiplayer Games on Android
A total of 10